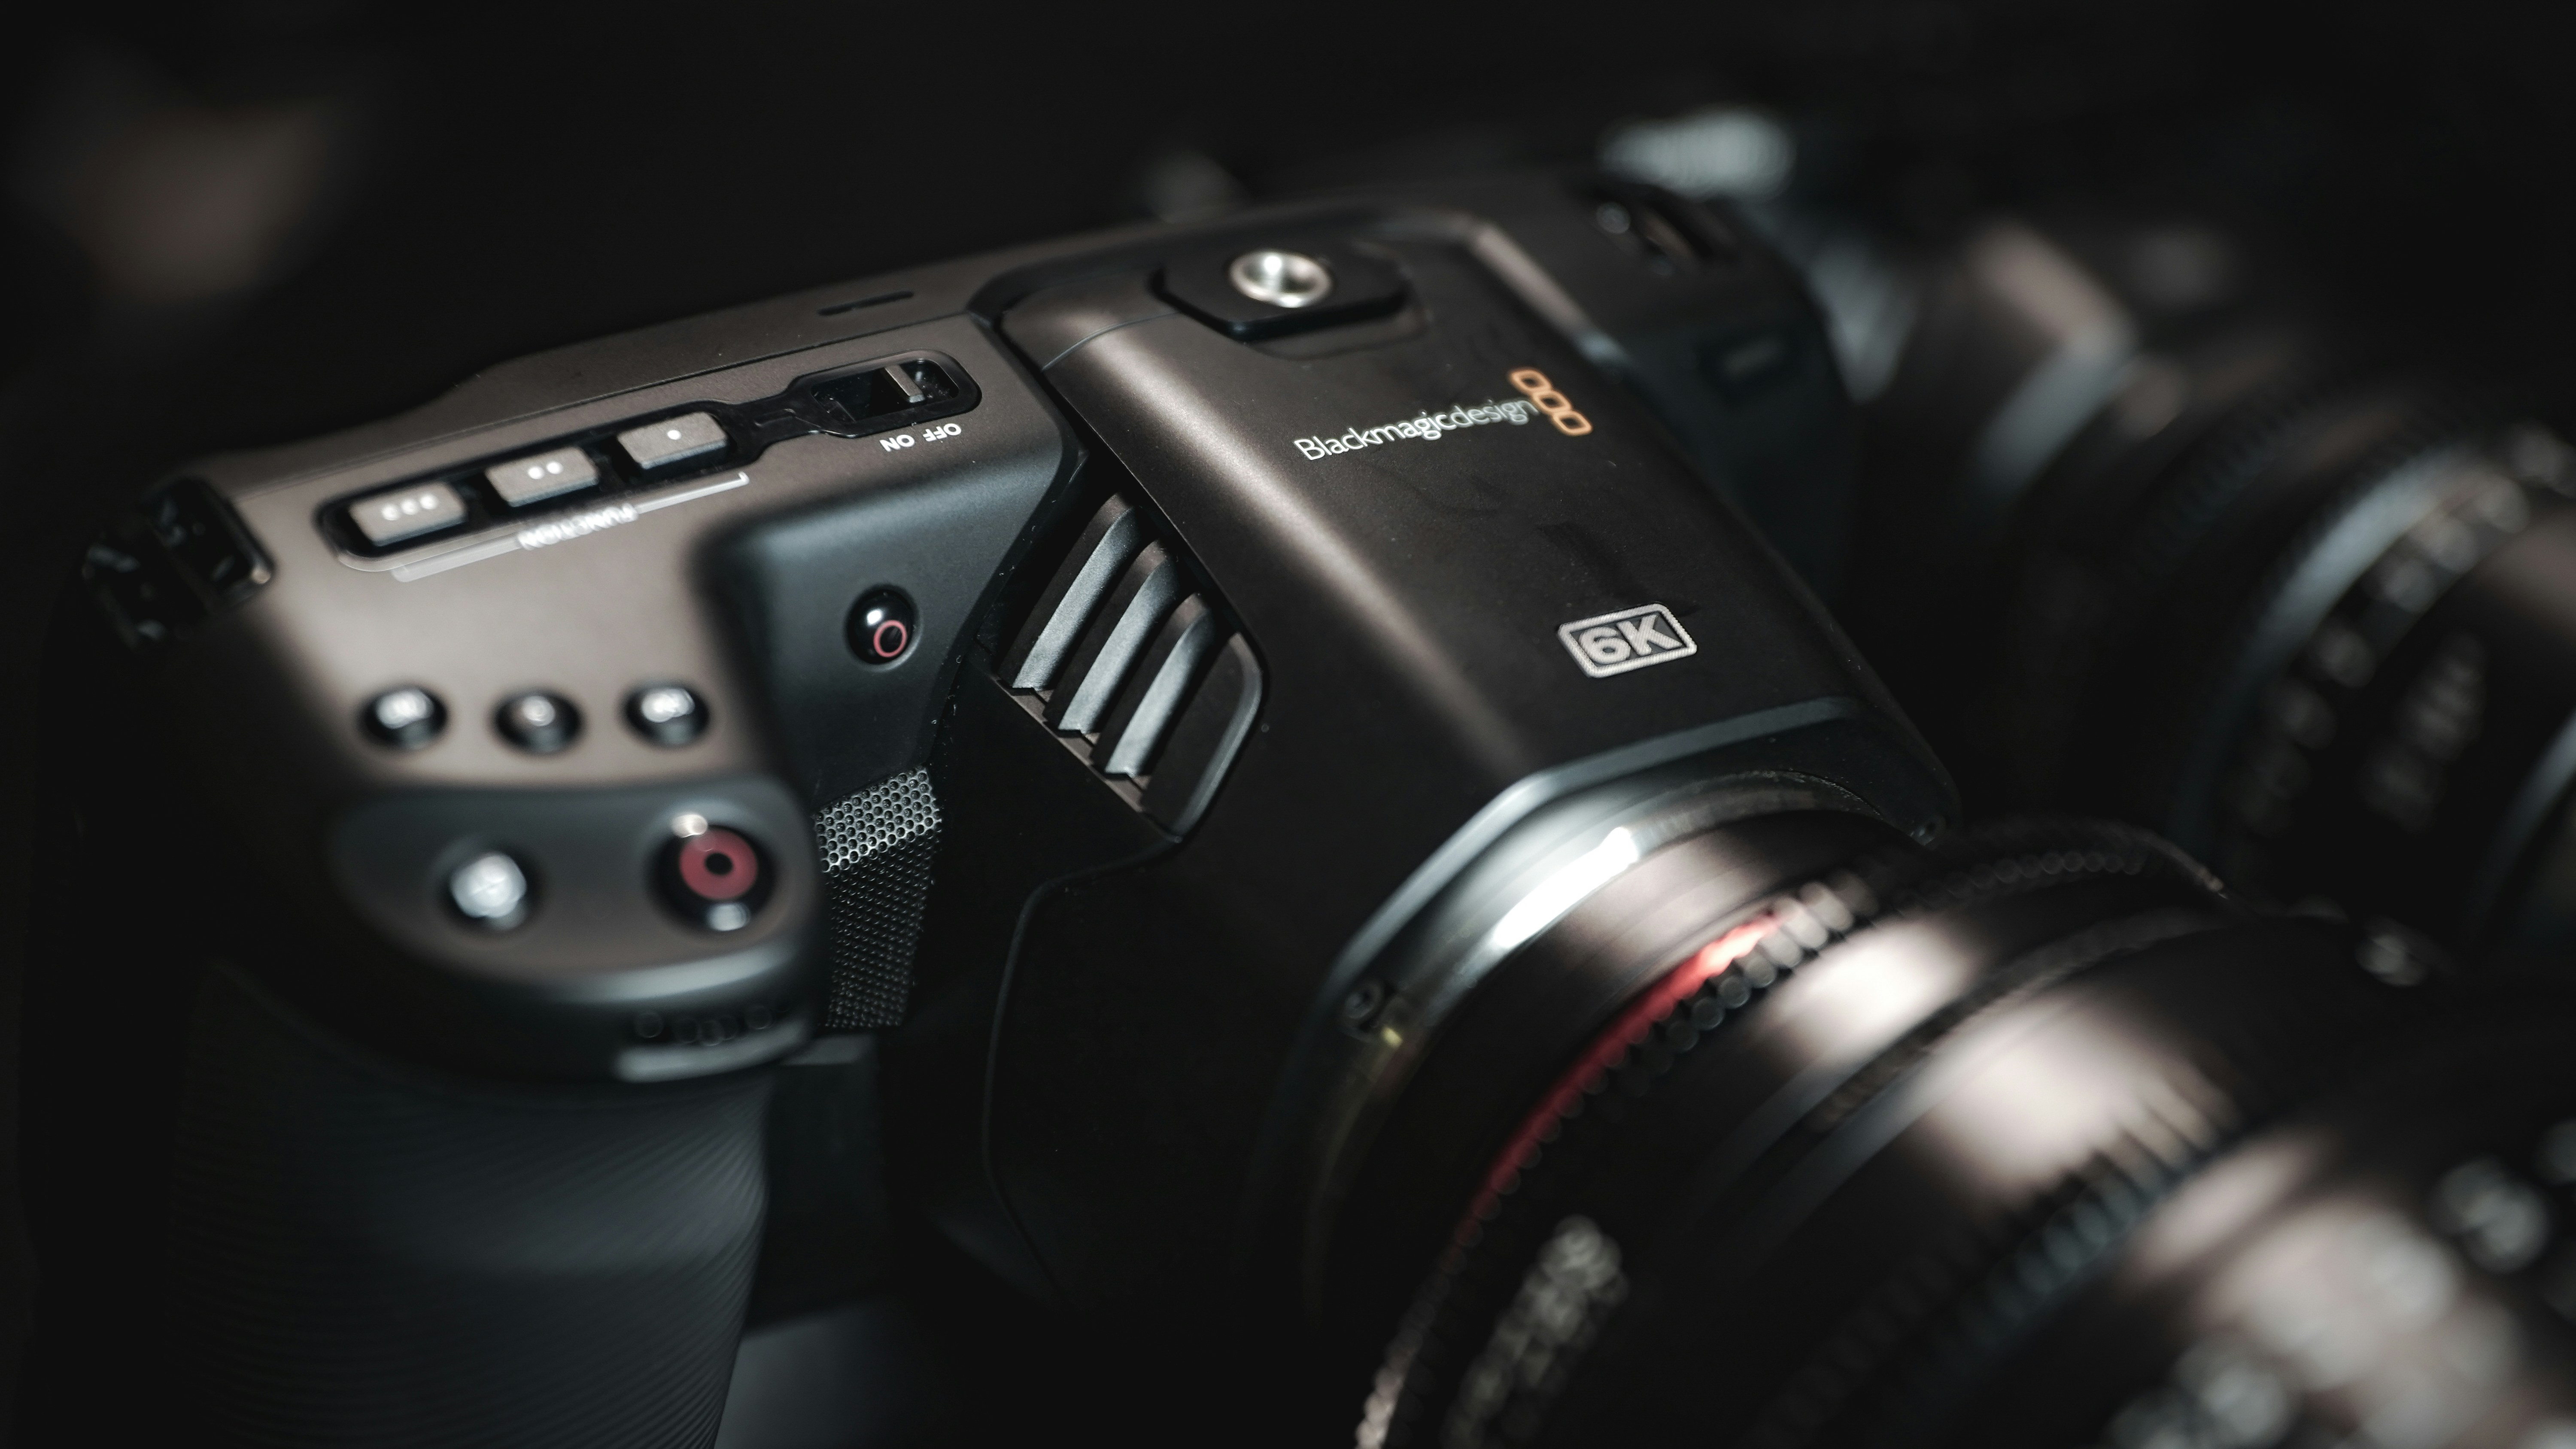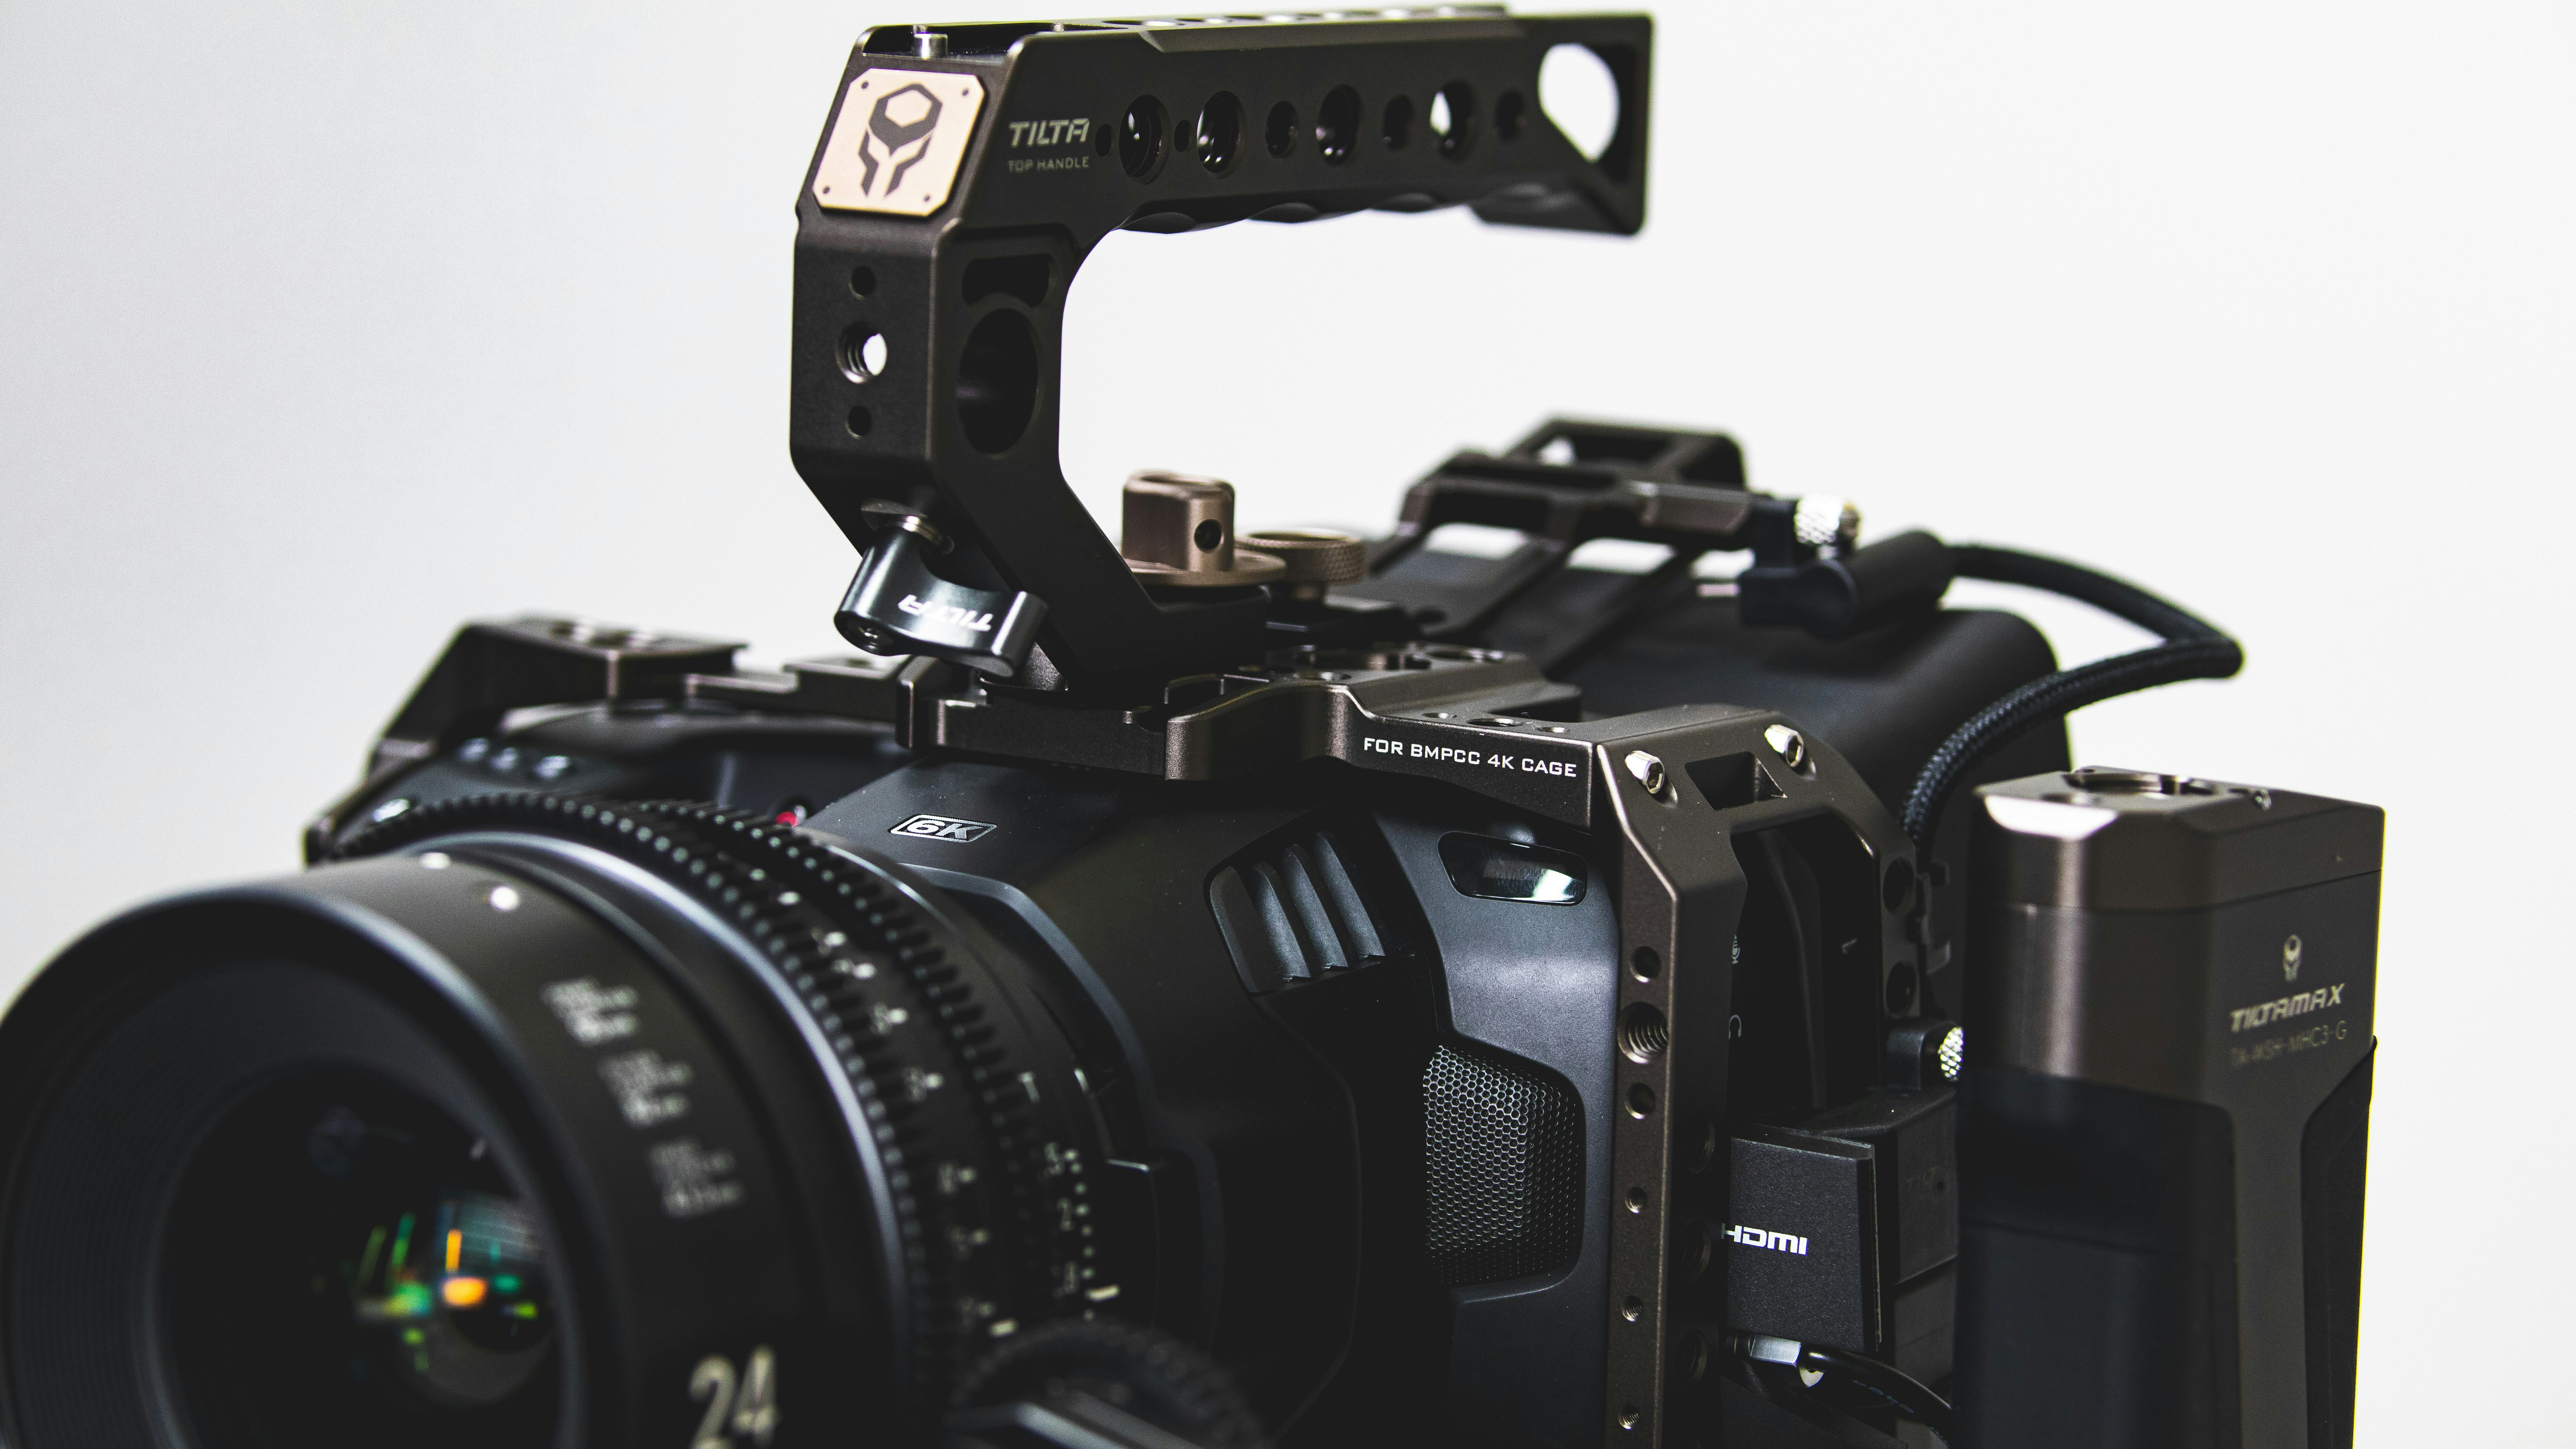

The Blackmagic Pocket Cinema Camera (BMPCC) series delivers incredible image quality, but the footage straight out of the camera often appears flat and desaturated when shooting in Blackmagic Film (Log).
This is intentional—it preserves dynamic range and color data for better post-production flexibility. However, to unlock the true potential of your footage, you need LUTs (Look-Up Tables) to enhance colors, contrast, and cinematic tones effortlessly.
Let’s explore the best LUTs for BMPCC color grading and how they can instantly transform your footage in DaVinci Resolve or any other editing software!
🎨 1. Why Use LUTs for BMPCC Color Grading?
LUTs serve as a shortcut to stunning color grading, helping filmmakers achieve professional looks in seconds. Here’s why they’re essential:
✅ Instant cinematic look – No need for hours of manual color grading.
✅ Consistent colors across all shots – Perfect for films, vlogs, and client projects.
✅ Saves time in post-production – Apply a LUT, tweak, and you’re ready to go.
✅ Better visualization on set – Use monitoring LUTs while filming.
🎞 2. Best BMPCC LUTs for Different Styles
Depending on your filmmaking style and project, different LUTs can create unique cinematic aesthetics. Here are some of the best LUTs for BMPCC color grading:
🎬 a) Teal & Orange Blockbuster LUTs
📌 Best for: Action films, adventure, travel vlogs
📌 Effect: Enhances skin tones while giving shadows a cool teal tint.
📌 Inspired by: Mad Max: Fury Road, Blade Runner 2049, Transformers
🔥 Why Use It?
This is one of the most popular cinematic LUTs because it creates a high-contrast, vibrant look that makes subjects stand out while keeping the background visually appealing.
🎞 b) Film Emulation LUTs (Kodak, Fuji, Arri Looks)
📌 Best for: Narrative films, weddings, indie projects
📌 Effect: Soft contrast, warm skin tones, and organic film-like textures.
📌 Inspired by: Classic film stocks like Kodak 2383, Fuji Eterna, and Arri Alexa
🔥 Why Use It?
If you want your footage to have the timeless cinematic beauty of Hollywood films, film emulation LUTs replicate the characteristics of real film stock, making digital footage look more natural and artistic.
🎭 c) Moody & Desaturated LUTs
📌 Best for: Drama, documentaries, emotional storytelling
📌 Effect: Muted colors, deep blacks, and a gritty, cinematic tone.
📌 Inspired by: The Joker, The Revenant, Sicario
🔥 Why Use It?
This LUT style removes excessive saturation and adds dark, moody shadows, making it perfect for serious, atmospheric films that need a strong emotional impact.
🌅 d) Warm Sunset & Golden Hour LUTs
📌 Best for: Travel videos, beach scenes, lifestyle films
📌 Effect: Enhances warm golden tones, giving a soft, dreamy feel.
📌 Inspired by: La La Land, The Secret Life of Walter Mitty
🔥 Why Use It?
Golden hour is one of the most beautiful times to film, and these LUTs help intensify those natural warm tones, making your footage look soft, cinematic, and inviting.
🎞 e) High-Contrast Cinematic LUTs
📌 Best for: Music videos, fashion films, high-energy edits
📌 Effect: Punchy contrast, deep blacks, and vibrant colors.
📌 Inspired by: John Wick, The Dark Knight, Inception
🔥 Why Use It?
These LUTs are designed to make your footage look bold and striking, with high contrast and rich colors that pop off the screen.
🎛 3. How to Apply LUTs to BMPCC Footage in DaVinci Resolve
Using LUTs in DaVinci Resolve is easy and takes just a few steps:
Step 1: Import Your Footage
• Open DaVinci Resolve and create a new project.
• Drag and drop your BMPCC RAW or ProRes footage into the timeline.
Step 2: Open the Color Page
• Click on the Color tab at the bottom.
• Select your clip in the timeline.
Step 3: Apply the LUT
• Open the LUTs panel on the left.
• Navigate to your BMPCC LUTs folder.
• Click on a LUT to apply it to your footage.
Step 4: Adjust & Fine-Tune
• Use Exposure, Contrast, and Saturation to tweak the look.
• Adjust Lift, Gamma, and Gain for precise control.
• Add Film Grain or Glow Effects for an extra cinematic touch.
🚀 4. Pro Tips for the Best Color Grading Results
✔ Shoot in BRAW for Maximum Flexibility – Blackmagic RAW gives you better control over highlights, shadows, and colors.
✔ Use False Color for Proper Exposure – Avoid overexposure or crushed blacks by using False Color mode in BMPCC.
✔ Don’t Overuse LUTs – LUTs should be a starting point, not the final grade. Always fine-tune to match your scene.
✔ Match LUTs to the Mood of Your Project – Select a LUT that complements your lighting conditions and storytelling style.
✔ Experiment with Secondary Color Grading – After applying a LUT, use curves, color wheels, and contrast adjustments to refine your final look.
🎯 Final Thoughts: Instantly Enhance Your BMPCC Footage
Using cinematic LUTs with BMPCC footage is one of the fastest ways to achieve professional-quality color gradingwithout spending hours in post-production. Whether you’re working on a Hollywood-style short film, a moody documentary, or a vibrant travel video, LUTs help you unlock the full potential of your footage.
🎁 Get Your BMPCC LUTs Today!
🚀 Want to transform your BMPCC footage instantly? Get our premium LUTs pack designed for DaVinci Resolve and achieve stunning cinematic results!